How to Install a PWC Cover
A proper fitting, high quality cover is essential to protecting the investment you've made in your personal watercraft. Successfully installing your PWC cover not only ensures your personal watercraft is protected while idle, but also saves time when you're ready to uncover it. Hit the water full speed ahead when the season starts knowing your PWC was waiting on you, not the other way around.

Step 1
Start by taking the personal watercraft cover out of the box. Remove it from the handy mesh storage bag and open the cover up to clearly identify the tag marked “front”. From this point, take the cover and loosely drape it over the personal watercraft.
Step 2
Take the handlebar pockets (and the mirror pockets if applicable) and make certain that the material is completely pressed out on both sides. When putting the cover on, start with the mirrors first to ensure a proper fit. Once done, move on to the handlebars. If you have telescoping handlebars, make sure they’re in the full down position.
Step 3
Bring the cover over the bow then start working your way back towards the rear of the PWC. From this point, as you work your way to the back of the personal watercraft, you want to take the cover and completely pull it over the seat. Working your way around the cover, continue pulling it down over the PWC from one rear corner to another.
Step 4
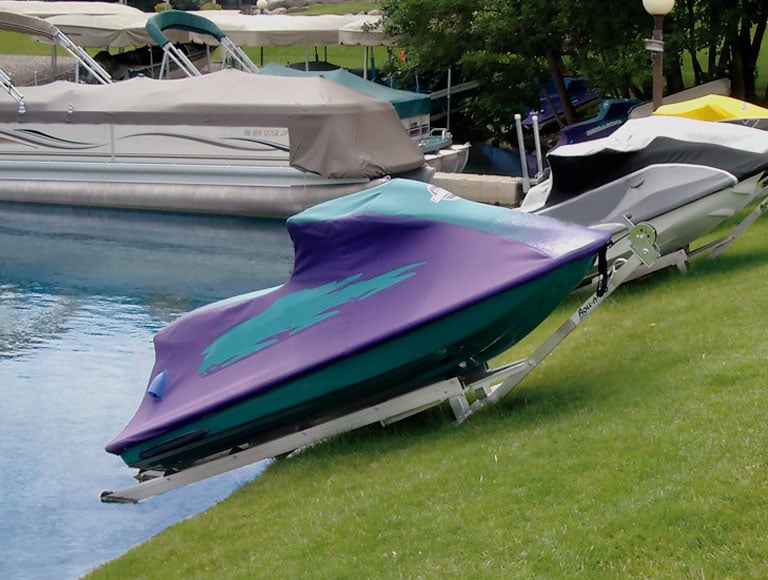
For the strapping process you want to refer to your instruction manual on how to properly insert the web strapping into the buckle system. When using straps, be careful to strap in the PWC only and not go under the trailer. Once the straps have been pulled under the PWC, insert the buckle to close and pull to tighten. Repeat the same process at the front. Your PWC cover installation is complete!
Don't just take our word for it. Watch the video to see our advice and tips in action.
Shop Our Boat Covers & Accessories
 800-700-1366